Rick writes:
In 2007, we started BLOG Zentangle and began our enjoyable series of conversations within our Zentangle community.
In reading through these blog posts with their insightful comments, we decided to bring a few of them to your attention from time to time. It is easy, for me anyway, to sometimes think of old information as stale information. But these insights and conversations are anything BUT stale!
We invite you to enjoy this tiny tutorial from 2011...
Begin previous post . . .
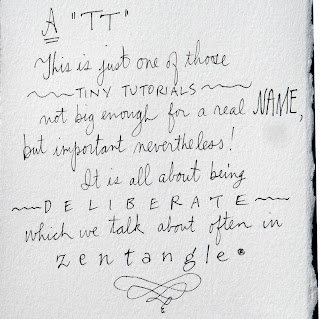
Maria and I were talking about what to do for a blog yesterday. She started writing some notes for a tiny tutorial.
When you concentrate on every stroke of your pen, not worrying about what your tile will look like, and not hurrying through a tile because you have something else on your mind, you can focus on the different types of lines your pen can make. As you pay attention to these different lines, you may realize you have more "control" than you thought.
. . . let's explore what we can discover through control of our pens. I'm talking about good control, not obsessive control
Did you know that Rick and I spent countless hours trying out different pens on all types of wonderful papers? We unanimously agreed on the Sakura® Pigma® Micron 01 pen and Fabriano's Tiepolo paper. We love the subtle things you can do with this combination of pen and paper.
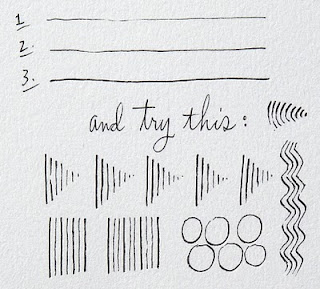
As an exercise, experiment with different pressures:
#1 - just tickle the tile
#2 - average pressure
#3 - pressing firmly (but not so heavy as to damage your pen)
Getting the look you want often involves slooooooowing down. Try making your strokes very slowly and see if it makes a difference in your deliberate lines . . .
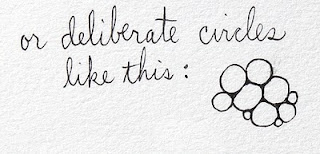
Check out what bubbles look like the next time you are doing dishes or washing your hands . . . how beautiful!
Using this same deliberate approach . . .
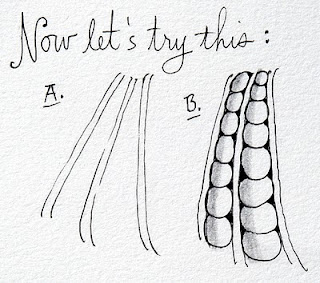
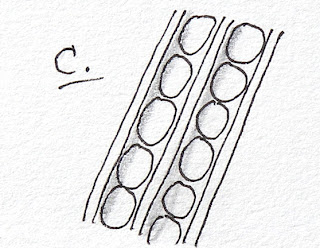
. . . as compared with:
In this exercise with purk (one of my favorite tangles) by making your lines a bit lighter and your orbs a bit darker and slightly larger than what fits between your lines, it gives an illusion that this tangle is almost alive and moving. These orbs are busting out, creating perspective, contrast, depth and interest.
This tiny tutorial is not meant to get you to do something in some sort of so-called "correct" manner. It is also not meant to imply that there is a preferred outcome for your Zentangle creations. Our intention is to expand your range of choices and options. Sometimes, in looking for another pen or another color or another tangle, we overlook unexplored options that we already have. In this tiny tutorial, we're exploring the options of speed (of stroke) and pressure (of stroke) . . . an opportunity for a new focus, seeing things with new eyes.
Next time you open your Zentangle Kit and begin to tangle, you may discover more tools and options than you thought were in your kit (or in yourself)!
Click images for larger view.

Naomi Frenkel on
Tara on
Quwatha Valentine on