Get Started
Welcome to the wonderful world of Zentangle creativity! We are so happy that you are here.
The Zentangle Method is an easy-to-learn, relaxing, and fun way to create beautiful images by drawing structured patterns. Getting started is easy. Whether you prefer to watch, read or follow along with an instructor, your Zentangle journey starts here!
Take a Class with a Certified Zentangle Teacher
Certified Zentangle Teachers (CZT) are trained in not only the method, but the philosophy behind the Zentangle Method and can will give you the foundation and confidence you need to begin your Zentangle journey. There are over 8,600 CZTs in over 80 countries world wide offering classes in both their communities and online.
Find a CZT
Learn at your Own Pace
We have carefully curated a collection of Zentangle products to support your Zentangle practice, at your own pace, one stroke at a time.
The Zentangle Primer Vol. 1 is written by Rick Roberts and Maria Thomas, founders of the Zentangle Method. It is a must have Zentangle instructional that guides you through the 8 steps of the Zentangle Method and beyond. The Zentangle Primer Pack Vol. 1 is an ideal starter kit. It complete with a copy of the Zentangle Primer Vol. 1 and all of the materials needed to complete the exercises inside.
Shop Zentangle Products
Tutorials, and more!
Visit our YouTube Channel for hundreds of hours of free Zentangle tutorials. Ranging from introductory to more advanced, our channel will keep you tangling. If you are just getting started, we recommend the New to Zentangle playlist.
Visit our YouTube Channel
Zentangle Project Packs
Loved by both new and seasoned tanglers, Zentangle Project Packs are a curated collection of supplies that pair with a series of online tutorials. Each series has a theme that overlaps specific tangling techniques with philosophical musings. Tangle along with Rick, Maria, Martha, Molly and others from Zentangle HQ as they guide you through each lesson, unleashing the inner artist in all of us.
Each project pack is numbered the same as the corresponding videos and includes everything needed to complete the lessons in the videos. Project Packs are not sequential and can be enjoyed in any order. For beginners, we suggest:
Zentangle Apprentice Project Pack A1
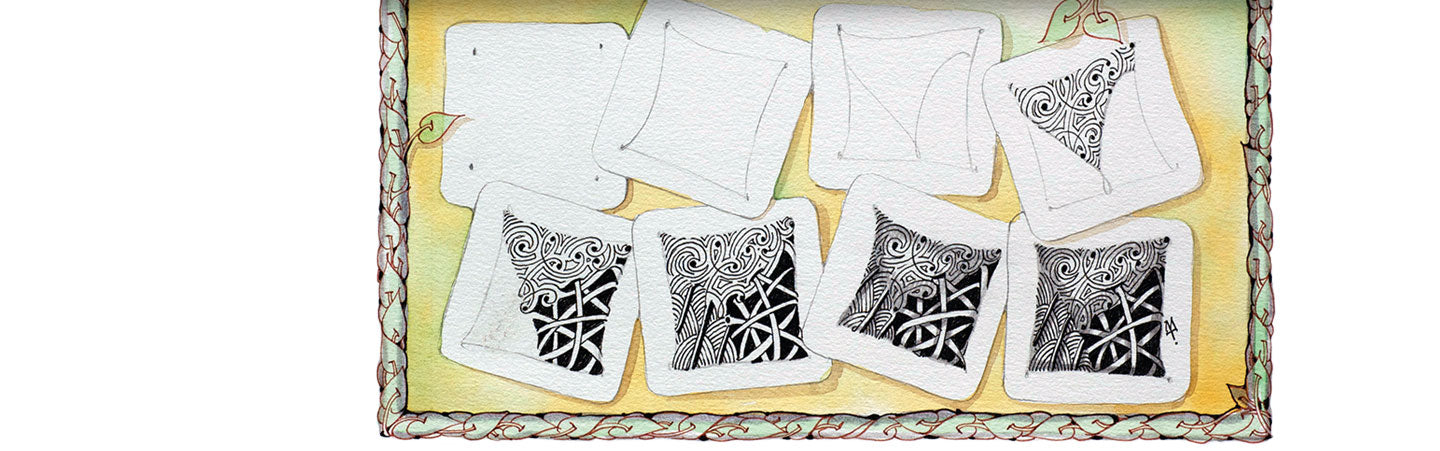
Zentangle Project Pack No. 04
Zentangle Project Pack No. 10
Explore All Zentangle Project Packs
Stay In Touch
Be a part of the world wide Zentangle Community. Join us on the Zentangle Mosaic App, subscribe to our free newsletter and follow us on Facebook and Instagram!